
Next.js와 ContentLayer로 MDX 블로그 만들기
Next.js와 ContentLayer를 활용해서, MDX 블로그 템플릿을 만들어보려고 합니다.
Next.js , TypeScript, TailwindCSS, ContentLayer 를 사용했습니다.
1. 프로젝트 생성하기
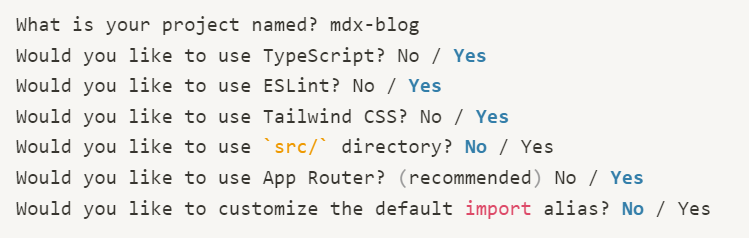
아래 명령어로 프로젝트를 생성합니다.
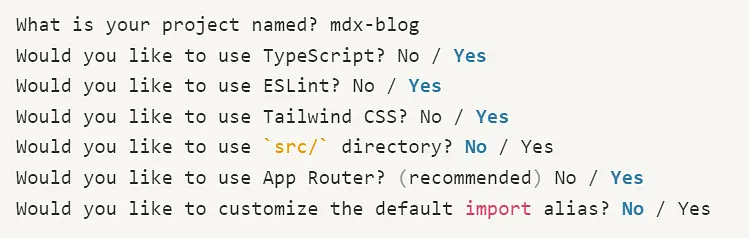
npx create-next-app@latest해당 명령어를 실행하면 터미널에서 아래와 같은 내용을 확인할 수 있습니다.
2. 프로젝트 실행하기
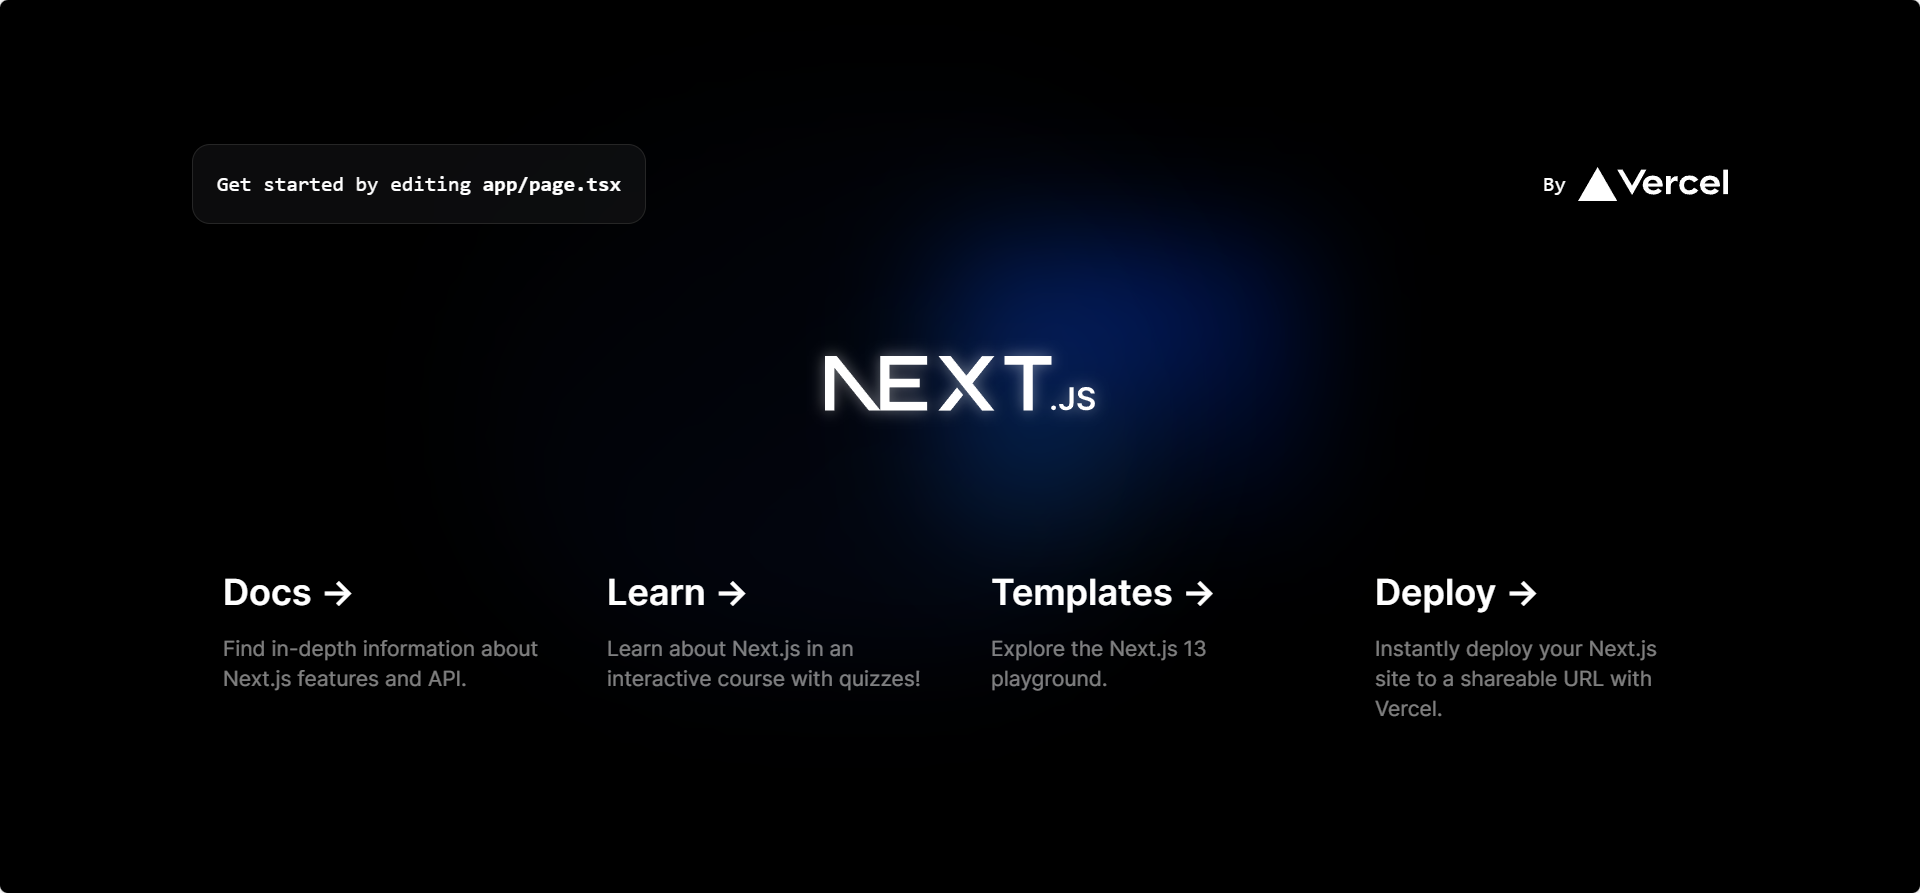
정상적으로 설치되었다면, 아래 명령어로 프로젝트를 실행할 수 있습니다.
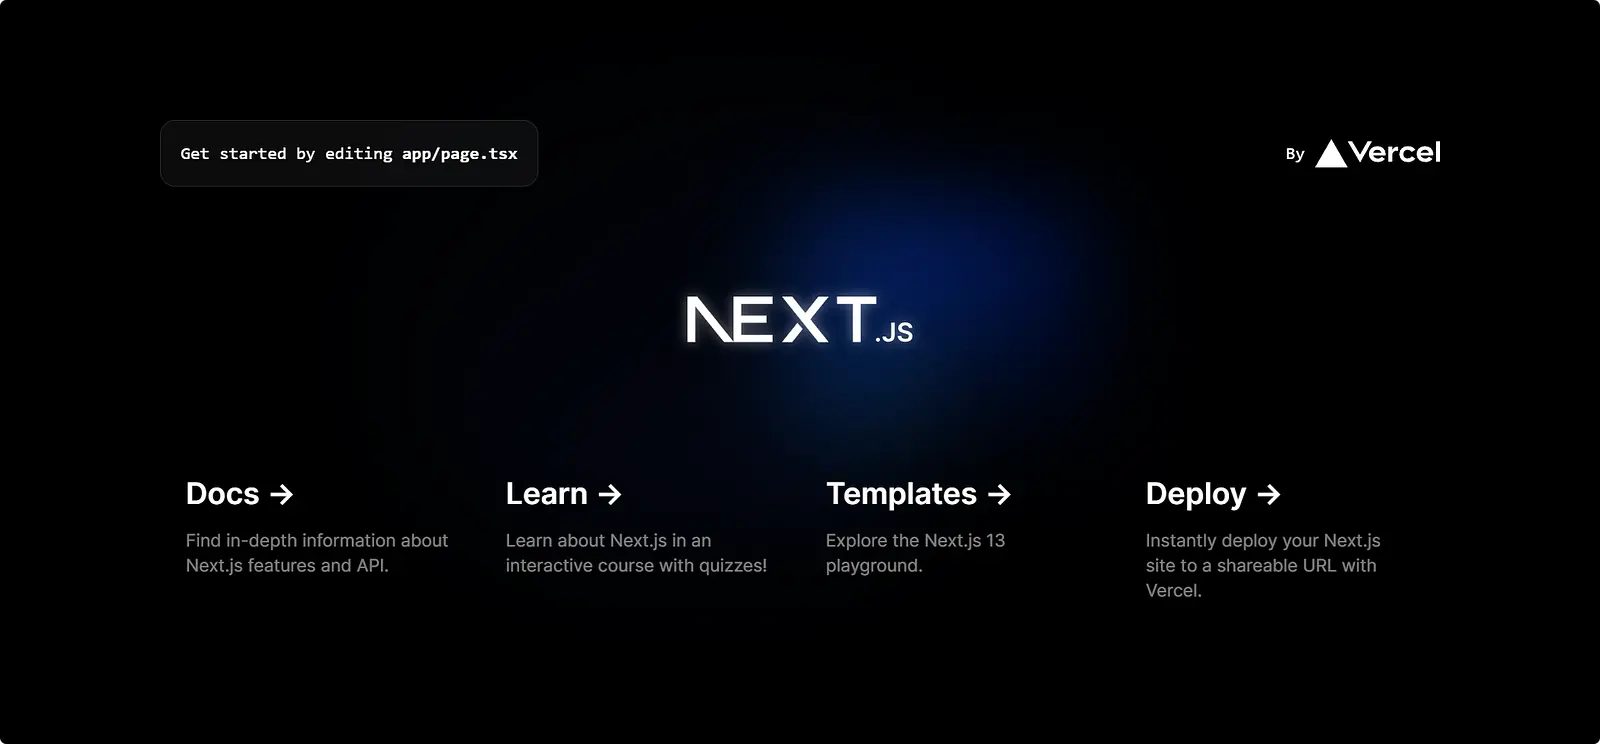
npm run dev문제없이 실행된다면, 아래 이미지와 같습니다.
3. ContentLayer 세팅하기
먼저, ContentLayer를 설치해야 합니다. Next.js에서 사용할 것이므로, next-contentlayer 도 필요하고, 날짜 표시를 위해 date-fns도 필요합니다. 아래 명령어로 설치합니다.
npm install contentlayer next-contentlayer date-fns설치가 완료되면, ContentLayer를 사용하기 위해, next.config.js , tsconfig.json수정이 필요합니다.
아래와 같이 수정합니다.
1) next.config.js
import { withContentlayer } from "next-contentlayer";
/** @type {import('next').NextConfig} */
const nextConfig = {
  reactStrictMode: true,
  swcMinify: true,
};

module.exports = withContentlayer(nextConfig);
2) tsconfig.json
{
  "compilerOptions": {
    "target": "es5",
    "lib": ["dom", "dom.iterable", "esnext"],
    "allowJs": true,
    "skipLibCheck": true,
    "strict": true,
    "forceConsistentCasingInFileNames": true,
    "noEmit": true,
    "esModuleInterop": true,
    "module": "esnext",
    "moduleResolution": "bundler",
    "resolveJsonModule": true,
    "isolatedModules": true,
    "jsx": "preserve",
    "incremental": true,
    "plugins": [
      {
        "name": "next"
      }
    ],
    "baseUrl": ".",
    "paths": {
      "@/*": ["./*"],
      "contentlayer/generated": ["./.contentlayer/generated"]
    }
  },
  "include": [
    "next-env.d.ts",
    "**/*.ts",
    "**/*.tsx",
    ".next/types/**/*.ts",
    ".contentlayer/generated"
  ],
  "exclude": ["node_modules"]
}
또한, .contentlayer 폴더의 내용물은 GitHub에 올라갈 필요가 없으므로, .gitignore 파일에 아래 내용을 추가합니다.
# contentlayer
.contentlayer
그리고, 루트 디렉토리에 contentlayer.config.ts 파일을 생성합니다.
contentlayer.config.ts 파일의 코드는 아래와 같습니다.
// contentlayer.config.ts
import { defineDocumentType, makeSource } from "contentlayer/source-files";

export const Post = defineDocumentType(() => ({
  name: "Post",
  filePathPattern: `**/*.mdx`,
  contentType:"mdx",
  fields: {
    title: {
      type: "string",
      required: true,
    },
    date: {
      type: "date",
      required: true,
    },
  },
  computedFields: {
    url: {
      type: "string",
      resolve: (post) => `/posts/${post._raw.flattenedPath}`,
    },
  },
}));

export default makeSource({ contentDirPath: "posts", documentTypes: [Post] });
이제 Contentlayer를 사용할 준비는 끝났습니다.
4. 게시글 작성하기
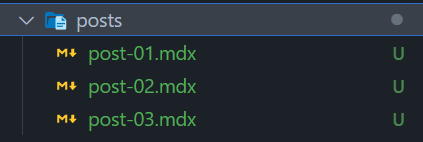
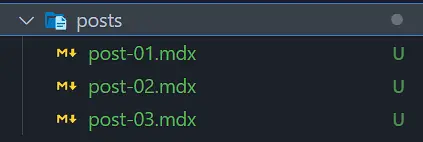
루트 디렉토리에 posts폴더를 생성하고, 게시글을 작성합니다. posts 폴더인 이유는 contentDirPath: "posts" 로 설정했기 때문입니다.
---
title: My First Post
date: 2023-08-10
---

This is My First Post!!
날짜 순 정렬을 테스트하기 위해, date를 다르게 해서 세 개의 MDX파일을 생성합니다. ex) 2023-08-08, 2023-08-09, 2023-08-10
page.tsx)를 아래와 같이 수정해야 합니다.
import { allPosts } from "@/.contentlayer/generated";
import { compareDesc } from "date-fns";

export default function Home() {
  const posts = allPosts.sort((a, b) =>
    compareDesc(new Date(a.date), new Date(b.date))
  );

  return (
    <div>
      {posts.map((post) => (
        <h2 key={post._id}>{post.title}</h2>
      ))}
    </div>
  );
}
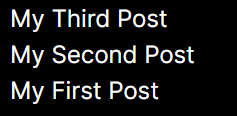
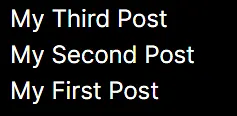
수정하고 나면, 아래와 같이 게시글 제목들이 나오는 것을 확인할 수 있습니다.
1) PostCard.tsx
app 디렉토리에 components 폴더를 생성하고, PostCard.tsx 파일을 생성합니다.
import { Post } from "@/.contentlayer/generated";
import { format, parseISO } from "date-fns";
import Link from "next/link";

export default function PostCard(post: Post): React.ReactElement {
  return (
    <div className="mb-4 flex flex-col border-2 rounded-lg p-2">
      <Link href={post.url} className="text-3xl mb-1 text-blue-500">
        {post.title}
      </Link>
      <time dateTime={post.date}>
        {format(parseISO(post.date), "LLLL d, yyyy")}
      </time>
    </div>
  );
}
2) 수정된 page.tsx
import { allPosts } from "@/.contentlayer/generated";
import { compareDesc } from "date-fns";
import PostCard from "./components/PostCard";

export default function Home() {
  const posts = allPosts.sort((a, b) =>
    compareDesc(new Date(a.date), new Date(b.date))
  );

  return (
    <main className="mx-auto max-w-5xl">
      <h1 className="my-8 text-center text-3xl font-bold">Next.js & ContentLayer Blog Example</h1>
      {posts.map((post) => (
        <PostCard key={post._id} {...post} />
      ))}
    </main>
  );
}
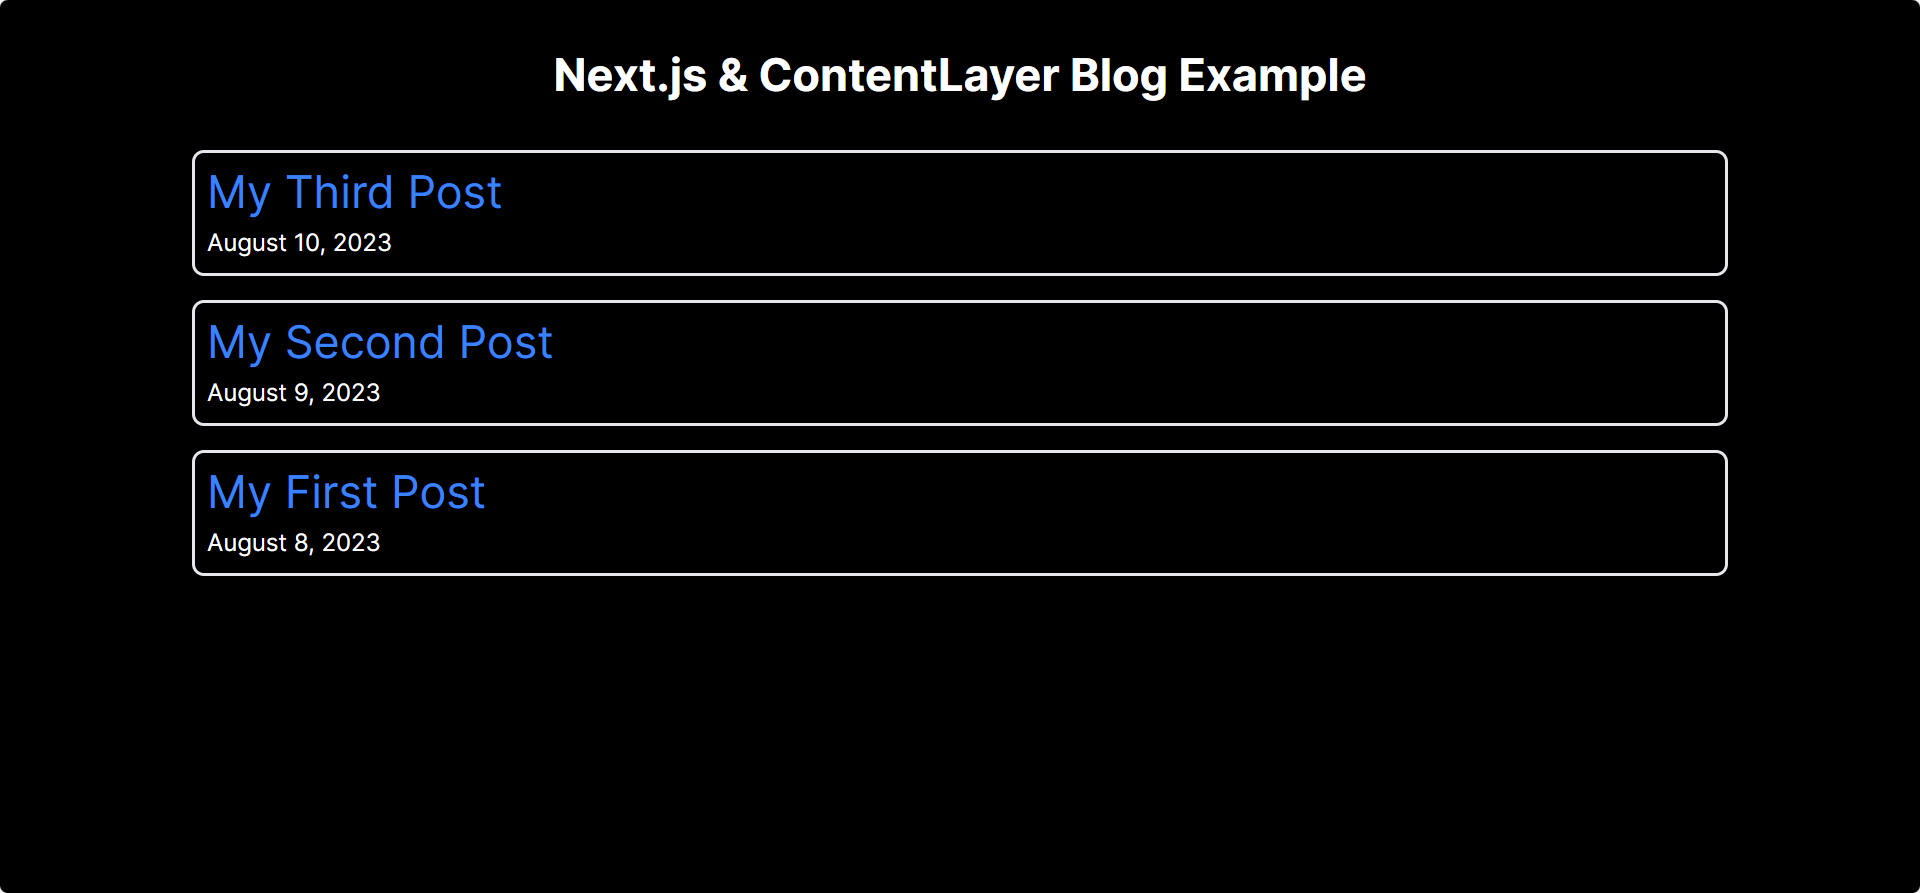
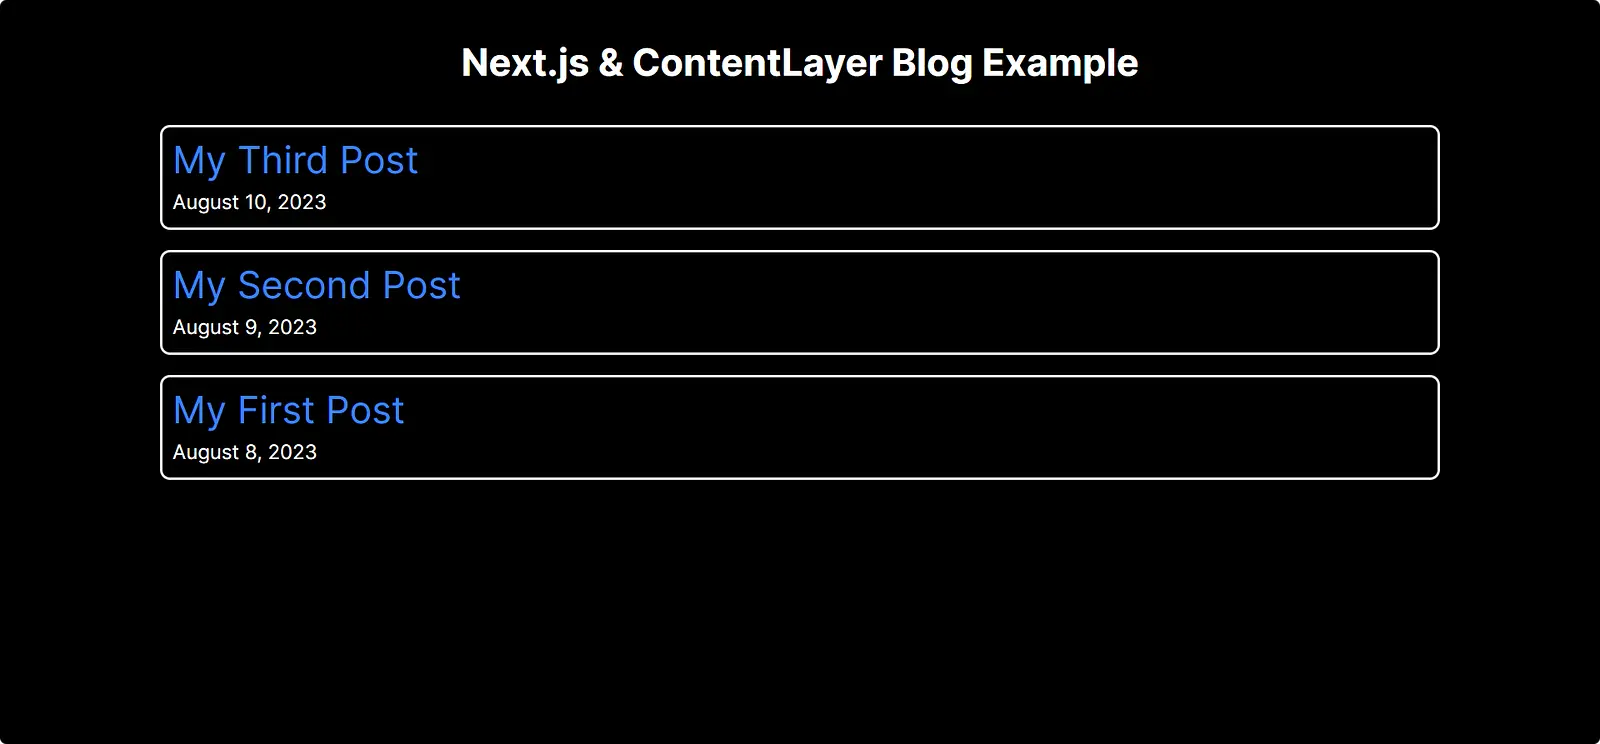
위 코드와 같이 수정하면, 아래와 같은 결과물을 확인할 수 있습니다.
상세 페이지 파일의 위치는 app/posts/[slug]/page.tsx 가 됩니다.
상세 페이지의 코드는 다음과 같습니다.
import { allPosts } from "@/.contentlayer/generated";
import { notFound } from "next/navigation";
import type { MDXComponents } from "mdx/types";
import Link from "next/link";
import { useMDXComponent } from "next-contentlayer/hooks";

const mdxComponents: MDXComponents = {
  a: ({ href, children }) => <Link href={href as string}>{children}</Link>,
};

export const generatedStaticParams = async () => {
  allPosts.map((post) => ({ slug: post._raw.flattenedPath }));
};

export const generatedMetadata = ({ params }: { params: { slug: string } }) => {
  const post = allPosts.find((post) => post._raw.flattenedPath === params.slug);
  if (!post) notFound();
};

export default function Page({ params }: { params: { slug: string } }) {

  const post = allPosts.find((post) => post._raw.flattenedPath === params.slug);
  if (!post) notFound();

  const MDXContent = useMDXComponent(post.body.code);

  return (
    <article className="mx-auto prose">
      <div className="mb-8 text-center">
        <time dateTime={post.date} className="mb-1 text-xs text-gray-600">
          {new Intl.DateTimeFormat("en-US").format(new Date(post.date))}
        </time>
        <h1 className="text-3xl font-bold">{post.title}</h1>
      </div>
      <MDXContent components={mdxComponents} />
    </article>
  );
}
기본적인 구현은 완료되었습니다.
추가적으로, not-found.tsx 파일을 추가해서, 잘못된 링크에 대한 404 페이지를 커스텀할 수도 있습니다.
또한, 상세페이지 article의 스타일링을 쉽게 하기 위해, @tailwindcss/typography 를 사용할 수 있습니다.
먼저, 아래 명령어로 설치합니다.
npm install -D @tailwindcss/typography설치가 완료되면, tailwind.config.js 에 해당 플러그인을 추가해준다.
module.exports = {
  theme: {
    // ...
  },
  plugins: [
    require('@tailwindcss/typography'),
    // ...
  ],
}
완료되면 <article> 의 className에 prose를 추가해주면 됩니다!
<article className="mx-auto prose"> ... </article>prose 관련 추가 설정은 아래 링크에서 확인할 수 있습니다.
그 외에 remark나 rehype 플러그인을 추가할 수도 있습니다.
remarkGfm을 추가한다고 하면, 아래 명령어로 설치하고, contentlayer.config.ts를 수정해서 사용할 수 있습니다.
1) remarkGfm 설치
npm install remark-gfm2) contentlayer.config.ts 코드 수정
// contentlayer.config.ts
import { defineDocumentType, makeSource } from "contentlayer/source-files";
import remarkGfm from "remark-gfm";

export const Post = defineDocumentType(() => ({
  name: "Post",
  filePathPattern: `**/*.mdx`,
  contentType: "mdx",
  fields: {
    title: {
      type: "string",
      required: true,
    },
    date: {
      type: "date",
      required: true,
    },
  },
  computedFields: {
    url: {
      type: "string",
      resolve: (post) => `/posts/${post._raw.flattenedPath}`,
    },
  },
}));

export default makeSource({
  contentDirPath: "posts",
  documentTypes: [Post],
  mdx: {
    remarkPlugins: [remarkGfm],
    rehypePlugins: [],
  },
});
그 외에도 직접 커스터마이징해서 사용할 수 있습니다.
긴 글 읽어주셔서 감사합니다 😀
전체 소스 코드는 아래 링크에서 확인할 수 있습니다! ^^
댓글
로그인 후 댓글을 남길 수 있습니다.
경력에 라돈 관련 앱 개발하셨던데, 라돈 사건 소송 김지예 변호사님 밑에서 사무직 알바 뛰었던 것 생각나네요..ㅎㅎㅎㅎ