
[Tip] 요즘 유행하는 이미지 생성 모델 'Flux' 무료로 사용하기 🫢 (코드 있음)
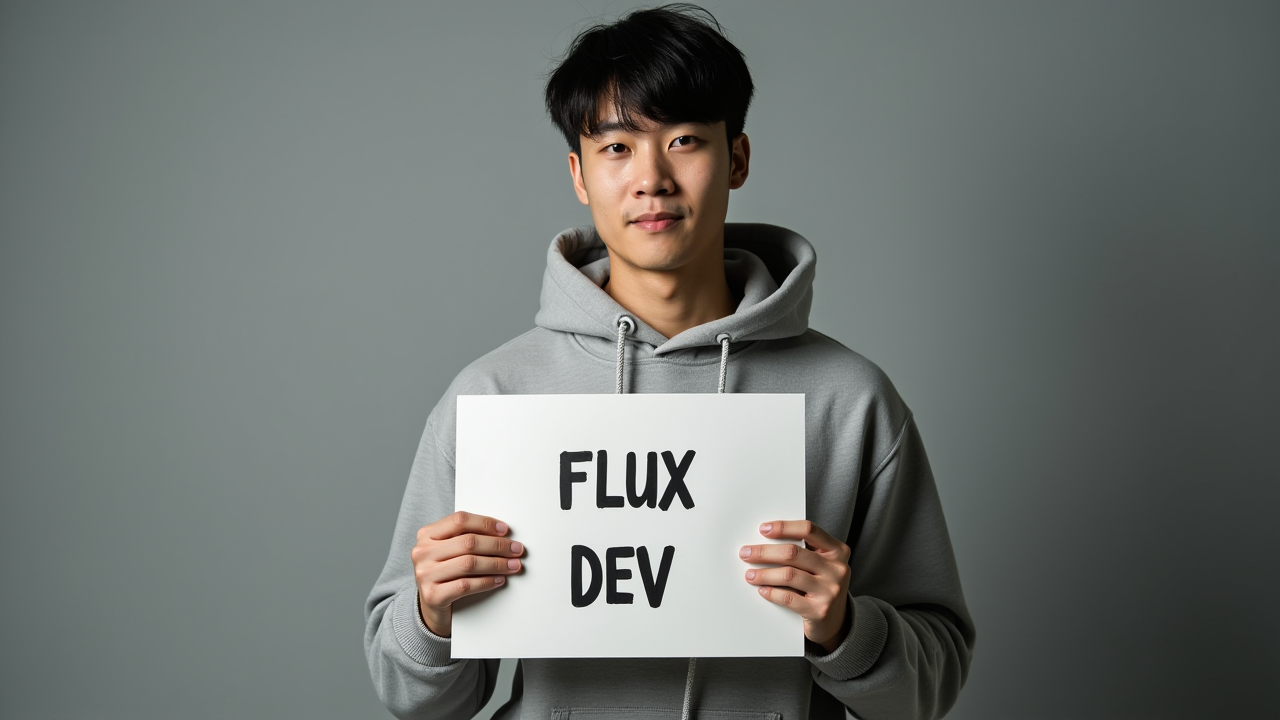
혹시 flux(플럭스)를 들어보셨나요?
flux 는 요즘 가장 유행하는 이미지 생성 모델입니다.
이미지 생성 서비스라고 하면 "미드저니, 달리 (그리고 플라멜) 는 들어본 것 같은데, 사실 실생활에서 써야 하나 모르겠어요.." 라고 하시는 분들이 계실 것 같습니다. 특히, 돈이 드니까 더 그런 생각이 들 수 있을 것 같은데요.

사실 이미지 모델은 이제 극강의 수준으로 올라왔습니다.
간단히 기술적으로 말씀드리면 flow matching 과 rectified flow, 그리고 transformer 기반의 모델링을 구현하면서 이 모든 것이 가능해졌는데요.
(사실 AI 는 이제 텍스트를 넘어, 이미지, 음성, 동영상 등 모든 모달리티를 하나의 공간에서 처리할 수 있도록 학습을 진행하고 있습니다.)
2022년 초 나온 달리 2부터 이미지 생성 모델의 가능성을 믿었던 저는 24년 중반에 나온 Flux 를 통해 이제는 완전히 새로운 세상에 들어왔다고 생각합니다.
그렇다면 이 모델... 도대체 뭔데 이렇게 대단하다고 이야기 하는 것인가.
를 해보려면 사실 사용해보아야 되잖아요.
일단 flux 는 크게 3가지 모델로 출시되었습니다.
flux-pro : API 로만 사용 가능 (즉, 플라멜 유료 버전에서 사용 가능)
120 억개의 매개변수로 학습한 모델
flux-dev : 모델 공개, 단 상업적으로 사용 불가능 (즉, 상업적으로 사용하려면 플라멜 무료 버전에서 사용 가능)
flux-pro 를 Guidance Distillation 한 모델 (증류한 모델)
Guidance Distillation paper
flux-schnell : 모델 공개, 상업적으로 사용 가능
flux-pro 를 Latent Adversarial Diffusion Distillation 한 모델 (증류한 모델)
ADD paper
기술적인 건 그렇고 일단은 사용해보셔야 하잖아요?
두 가지 방식이 있습니다.
가장 쉬운 방법은 flamel.app 에 접속합니다.
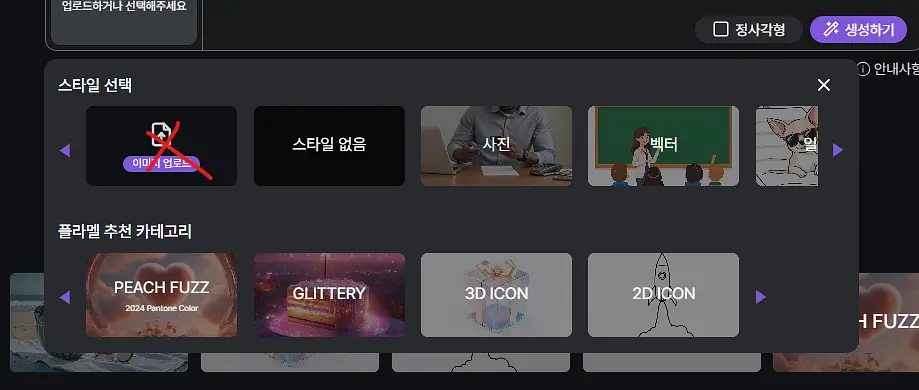
이미지를 넣지 않고, 스타일 없음 혹은 제공하고 있는 스타일을 선택합니다.
(이미지 업로드에는 다른 자체 모델을 사용하고 있습니다. Flux 에 적용하려면 해당 개발사에 연락을 해야 해서 대기 중입니다. - 사실 그런 점 때문에 자체 모델 학습 준비중입니다.)
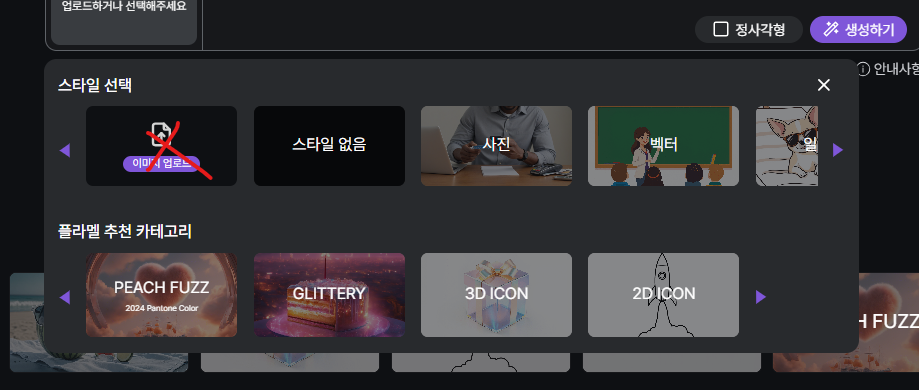
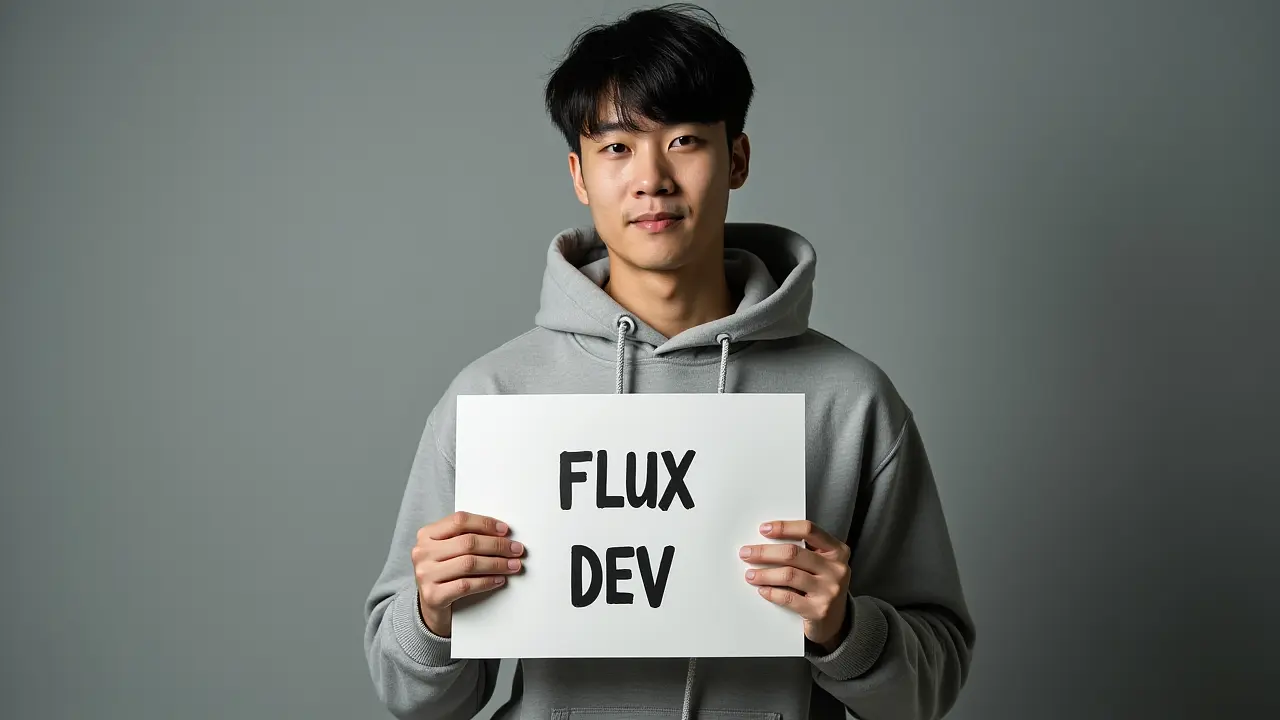
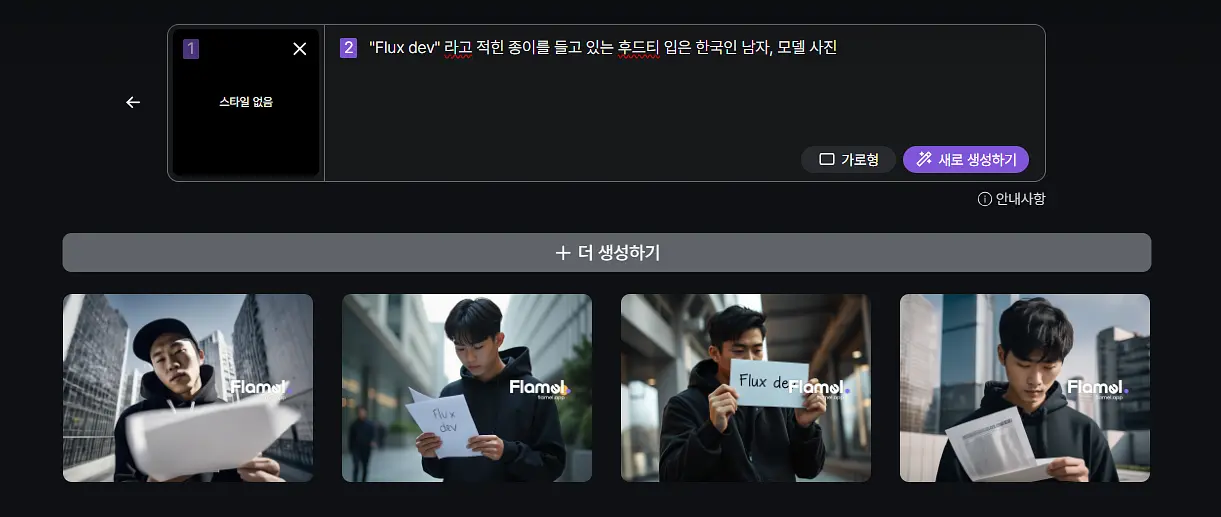
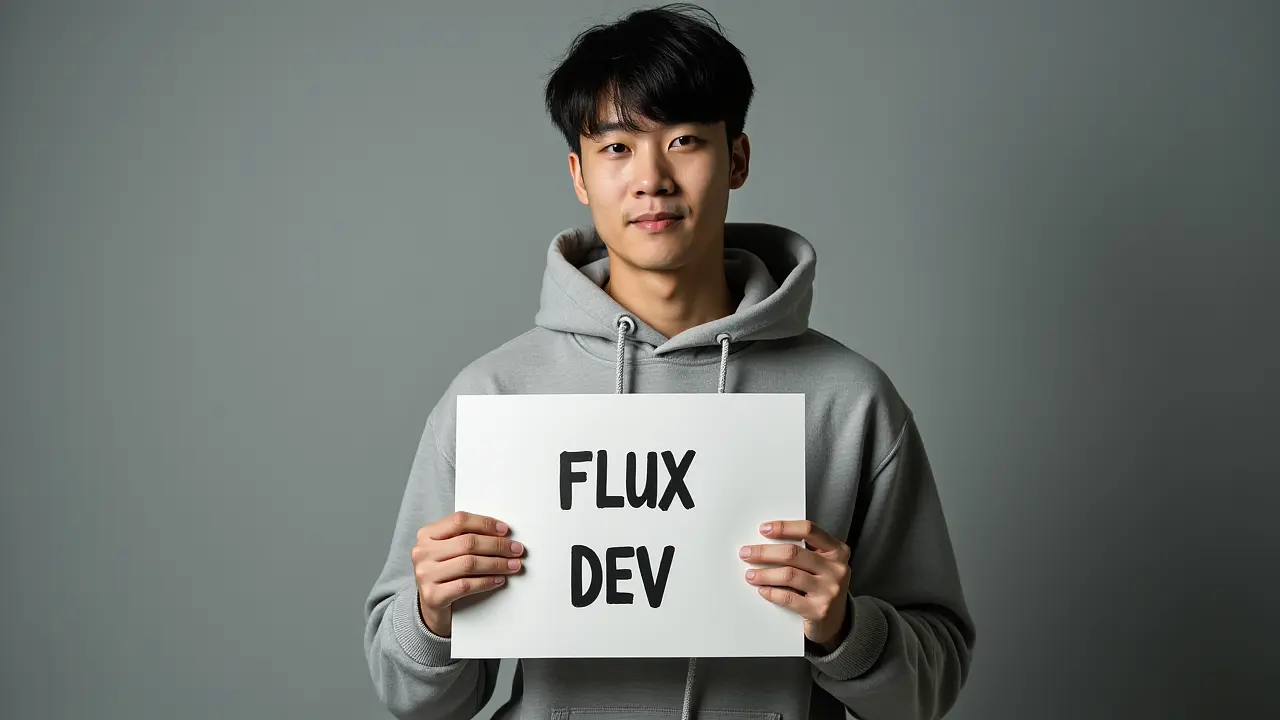
2. 예시로, 스타일 없음을 선택하고 "Flux dev" 라고 적힌 종이를 들고 있는 후드티 입은 한국인 남자, 사진 이라고 입력합니다.
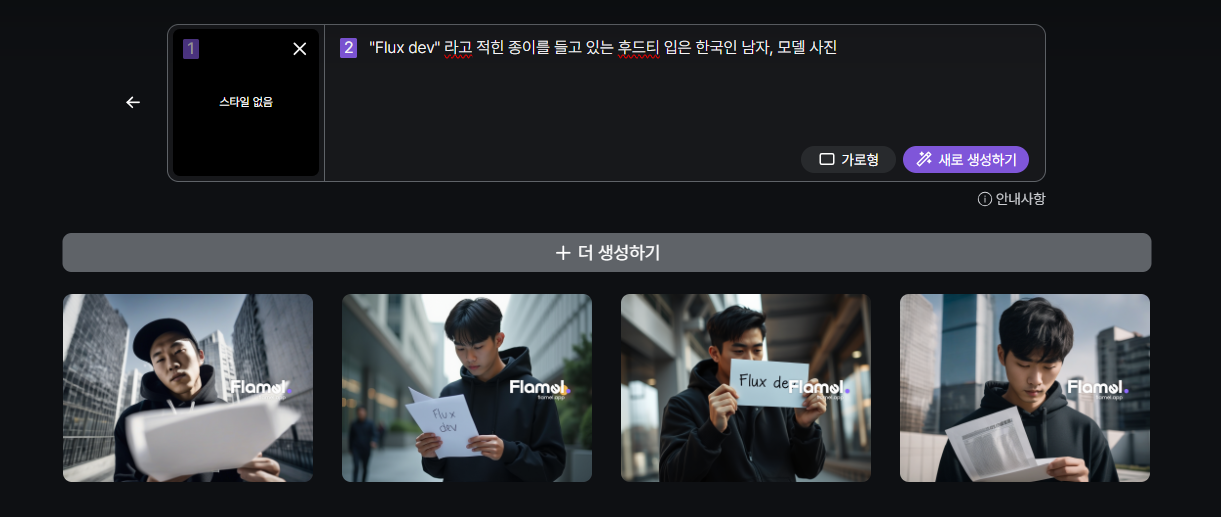
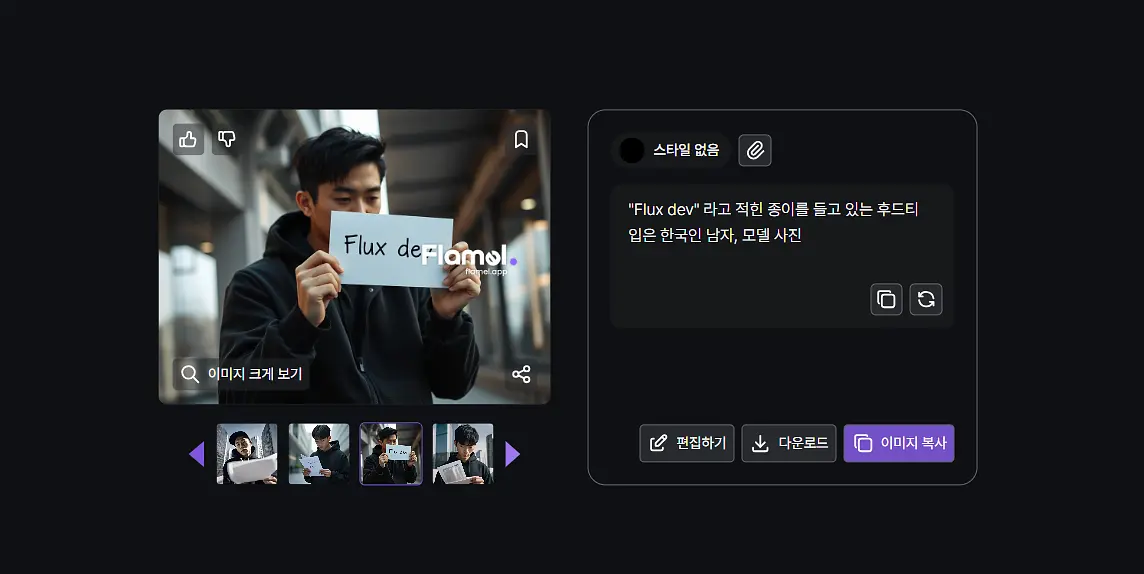
3. 생성된 이미지 중 하나를 클릭하여 원하는 추가 작업을 진행 후 다운로드 합니다.
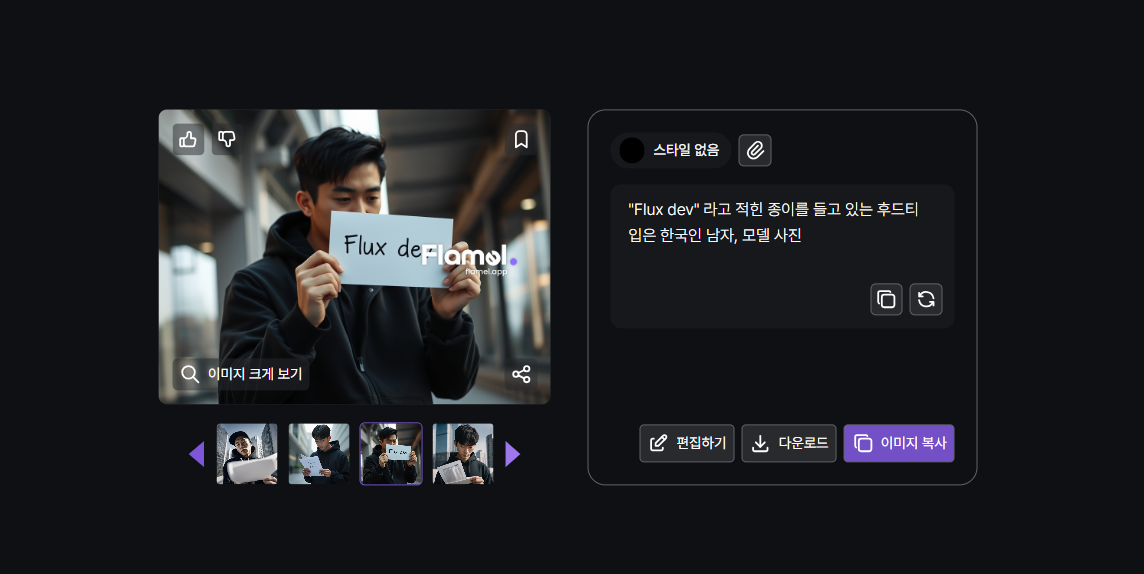
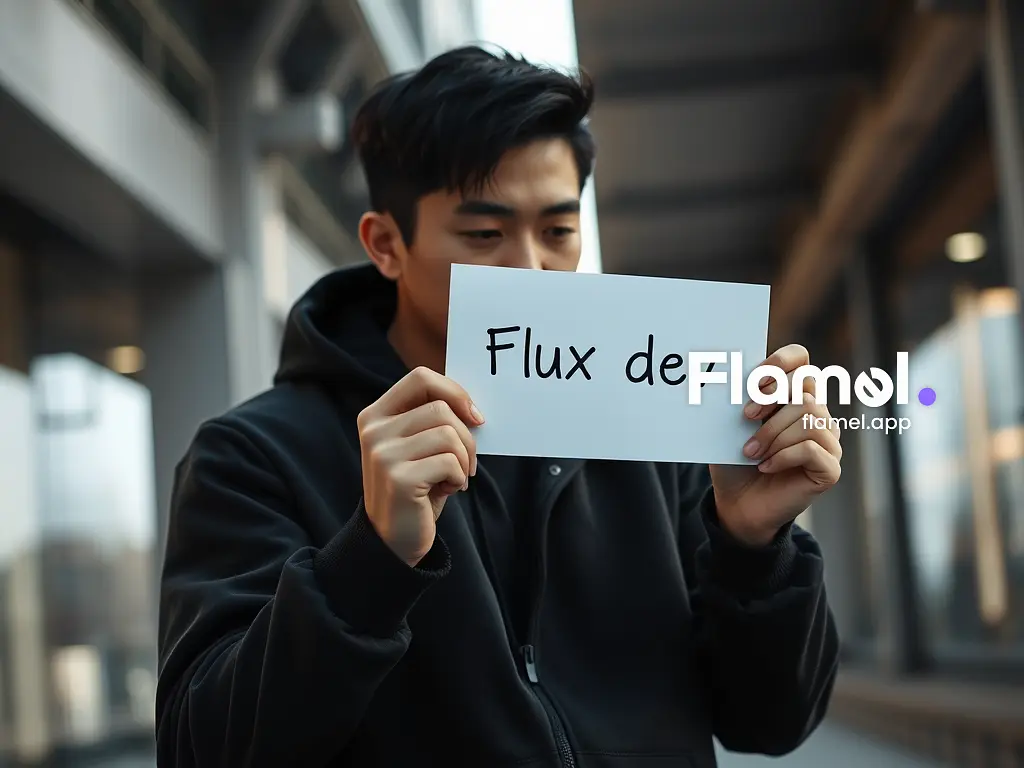
4. 결과는 다음 이미지와 같습니다.
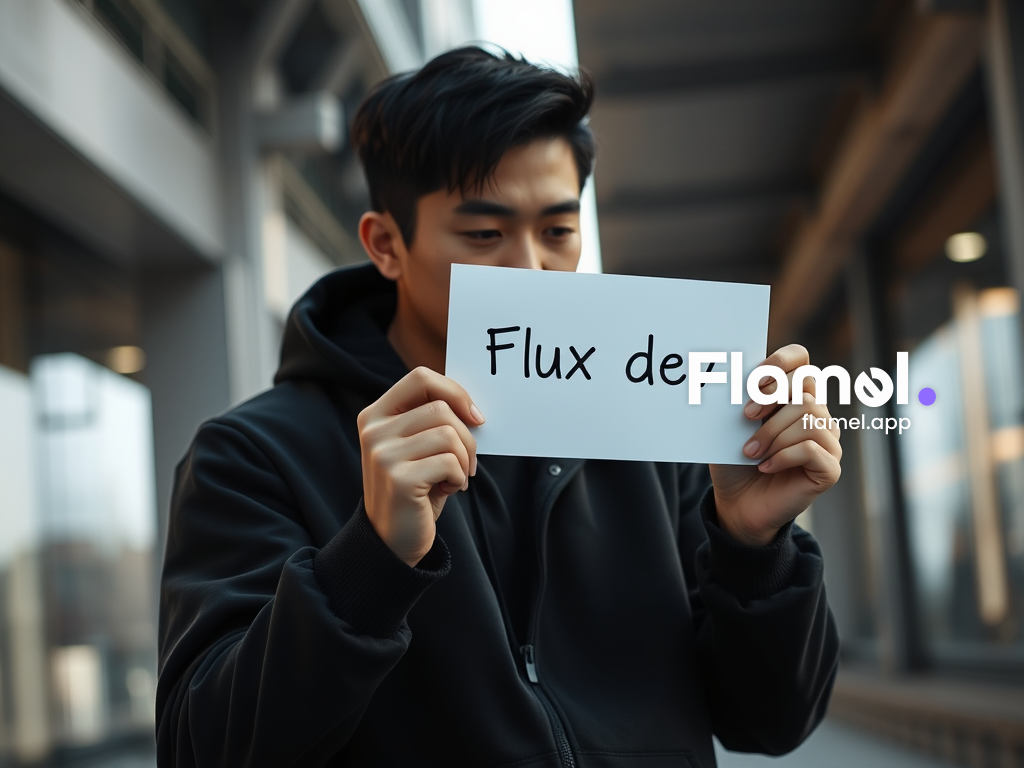
무려 하루 20장을 무료로 생성하고 무제한으로 편집 (곧, 새로운 기능도 등장합니다) 할 수 있지만,
공짜로 더 하고 싶은 것이 사람 마음이잖아요. 저도 사실 돈만 많으면 더 무제한으로 풀고 싶지만... 그래도 저희도 성장해야 하니 대신 무료로 GPU 를 사용할 수 있는 서비스, 구글 colab 을 통해 사용하는 방법을 안내해드립니다.
참고로 여기부터는 코드입니다.
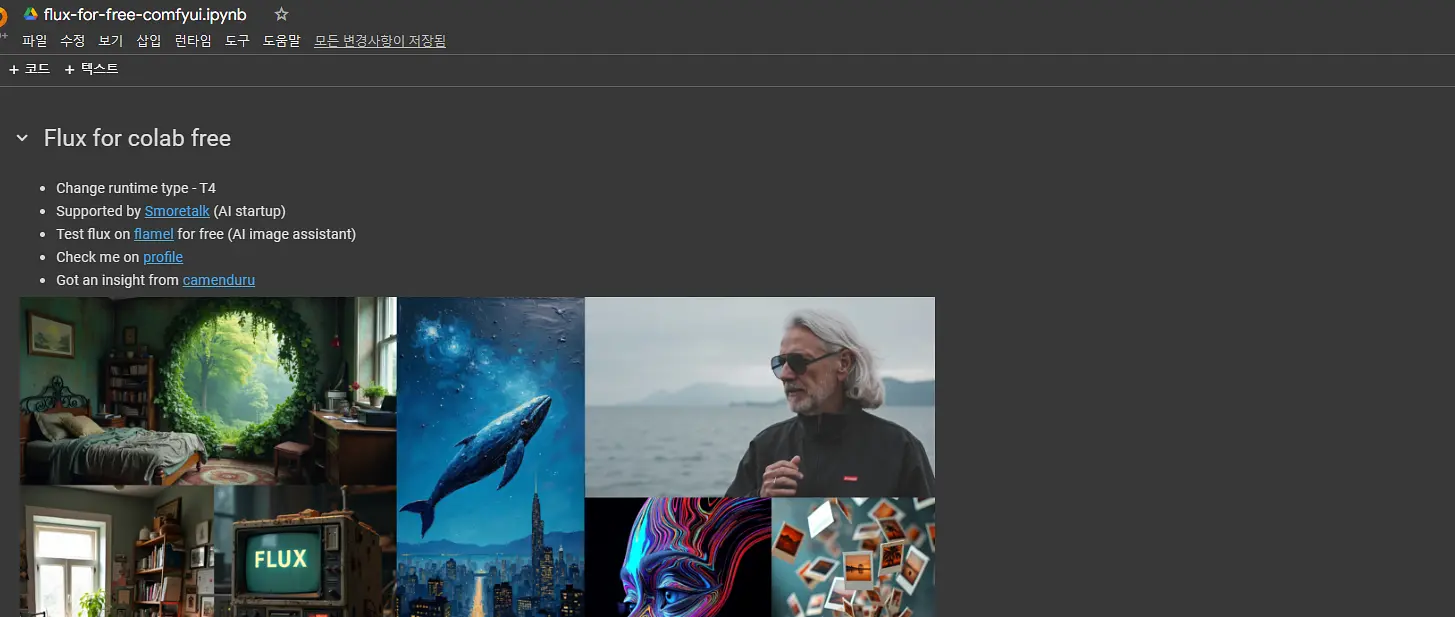
구글 코랩을 엽니다.
이미지를 생성할 수 있게 하는 기본 코드(라이브러리)와 학습된 AI(가중치)를 다운로드 합니다.
%cd /content
!git clone https://github.com/comfyanonymous/ComfyUI.git /content/ComfyUI
!git clone https://github.com/city96/ComfyUI-GGUF.git /content/ComfyUI/quantized

%cd /content/ComfyUI
!pip install -q torchsde==0.2.6 einops==0.8.0 diffusers==0.30.0 accelerate==0.33.0 xformers==0.0.27 gguf==0.9.1
!apt -y install -qq aria2

from huggingface_hub import hf_hub_download

# @markdown Select one of the models to download, select `fast` for best inference speed:
hf_hub_download(repo_id="city96/FLUX.1-dev-gguf", filename="flux1-dev-Q4_0.gguf", local_dir="/content/ComfyUI/models/unet")

!aria2c --console-log-level=error -c -x 16 -s 16 -k 1M https://huggingface.co/camenduru/FLUX.1-dev/resolve/main/ae.sft -d /content/ComfyUI/models/vae -o ae.sft
!aria2c --console-log-level=error -c -x 16 -s 16 -k 1M https://huggingface.co/comfyanonymous/flux_text_encoders/resolve/main/clip_l.safetensors -d /content/ComfyUI/models/clip -o clip_l.safetensors
!aria2c --console-log-level=error -c -x 16 -s 16 -k 1M https://huggingface.co/comfyanonymous/flux_text_encoders/resolve/main/t5xxl_fp8_e4m3fn.safetensors -d /content/ComfyUI/models/clip -o t5xxl_fp8_e4m3fn.safetensors
학습된 AI 를 사용할 수 있게 설정합니다. (ComfyUI Backend 사용)
%cd /content/ComfyUI

import random
import torch
import numpy as np
from PIL import Image
import nodes
from nodes import NODE_CLASS_MAPPINGS
from comfy_extras import nodes_custom_sampler
from comfy import model_management

DualCLIPLoader = NODE_CLASS_MAPPINGS["DualCLIPLoader"]()
RandomNoise = nodes_custom_sampler.NODE_CLASS_MAPPINGS["RandomNoise"]()
BasicGuider = nodes_custom_sampler.NODE_CLASS_MAPPINGS["BasicGuider"]()
KSamplerSelect = nodes_custom_sampler.NODE_CLASS_MAPPINGS["KSamplerSelect"]()
BasicScheduler = nodes_custom_sampler.NODE_CLASS_MAPPINGS["BasicScheduler"]()
SamplerCustomAdvanced = nodes_custom_sampler.NODE_CLASS_MAPPINGS["SamplerCustomAdvanced"]()
VAELoader = NODE_CLASS_MAPPINGS["VAELoader"]()
VAEDecode = NODE_CLASS_MAPPINGS["VAEDecode"]()
EmptyLatentImage = NODE_CLASS_MAPPINGS["EmptyLatentImage"]()

with torch.inference_mode():
  clip = DualCLIPLoader.load_clip("t5xxl_fp8_e4m3fn.safetensors", "clip_l.safetensors", "flux")[0]
  vae = VAELoader.load_vae("ae.sft")[0]

# from quantized import nodes
from quantized.nodes import NODE_CLASS_MAPPINGS

UNETLoader = NODE_CLASS_MAPPINGS["UnetLoaderGGUF"]()
with torch.inference_mode():
  unet = UNETLoader.load_unet(unet_name)[0]

def closestNumber(n, m):
    q = int(n / m)
    n1 = m * q
    if (n * m) > 0:
        n2 = m * (q + 1)
    else:
        n2 = m * (q - 1)
    if abs(n - n1) < abs(n - n2):
        return n1
    return n2
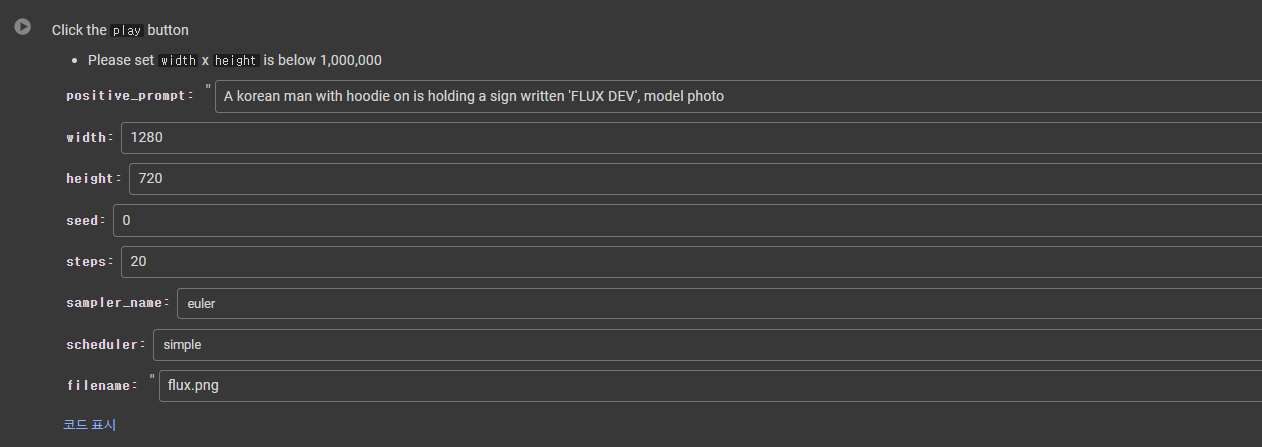
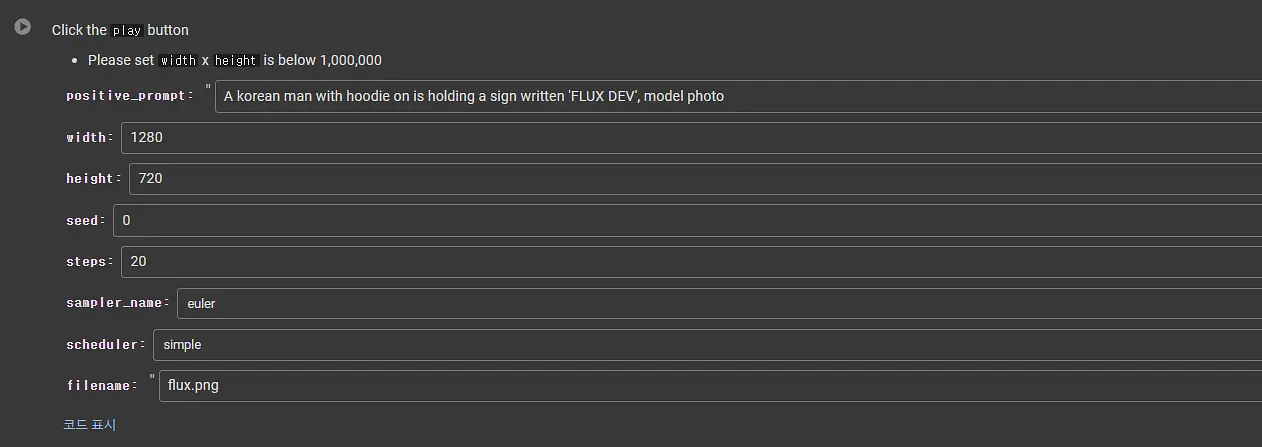
이미지를 생성합니다. positive_prompt 에는 만들고 싶은 내용의 문장을, width, height 는 이미지의 사이즈를, seed 는 동일한 장면의 다른 이미지를 만들고 싶을 때 다른 숫자를 넣으면 이미지가 생성됩니다.
import time

with torch.inference_mode():
    positive_prompt = "A korean man with hoodie on is holding a sign written 'FLUX DEV', model photo"
    width = 1280
    height = 720
    seed = 0
    steps = 20
    sampler_name = "euler"
    scheduler = "simple"
    filename = "flux.png"

    print("SEED :", seed)
    start = time.time()
    cond, pooled = clip.encode_from_tokens(clip.tokenize(positive_prompt), return_pooled=True)
    cond = [[cond, {"pooled_output": pooled}]]
    noise = RandomNoise.get_noise(seed)[0]
    guider = BasicGuider.get_guider(unet, cond)[0]
    sampler = KSamplerSelect.get_sampler(sampler_name)[0]
    sigmas = BasicScheduler.get_sigmas(unet, scheduler, steps, 1.0)[0]
    latent_image = EmptyLatentImage.generate(closestNumber(width, 16), closestNumber(height, 16))[0]
    sample, sample_denoised = SamplerCustomAdvanced.sample(noise, guider, sampler, sigmas, latent_image)
    model_management.soft_empty_cache()
    decoded = VAEDecode.decode(vae, sample)[0].detach()
    print(f"Inference time : {str(time.time() - start)} secs")
    Image.fromarray(np.array(decoded*255, dtype=np.uint8)[0]).save(f"/content/{filename}")

Image.fromarray(np.array(decoded*255, dtype=np.uint8)[0])
그래서 나온 결과는? 기가 막힙니다.
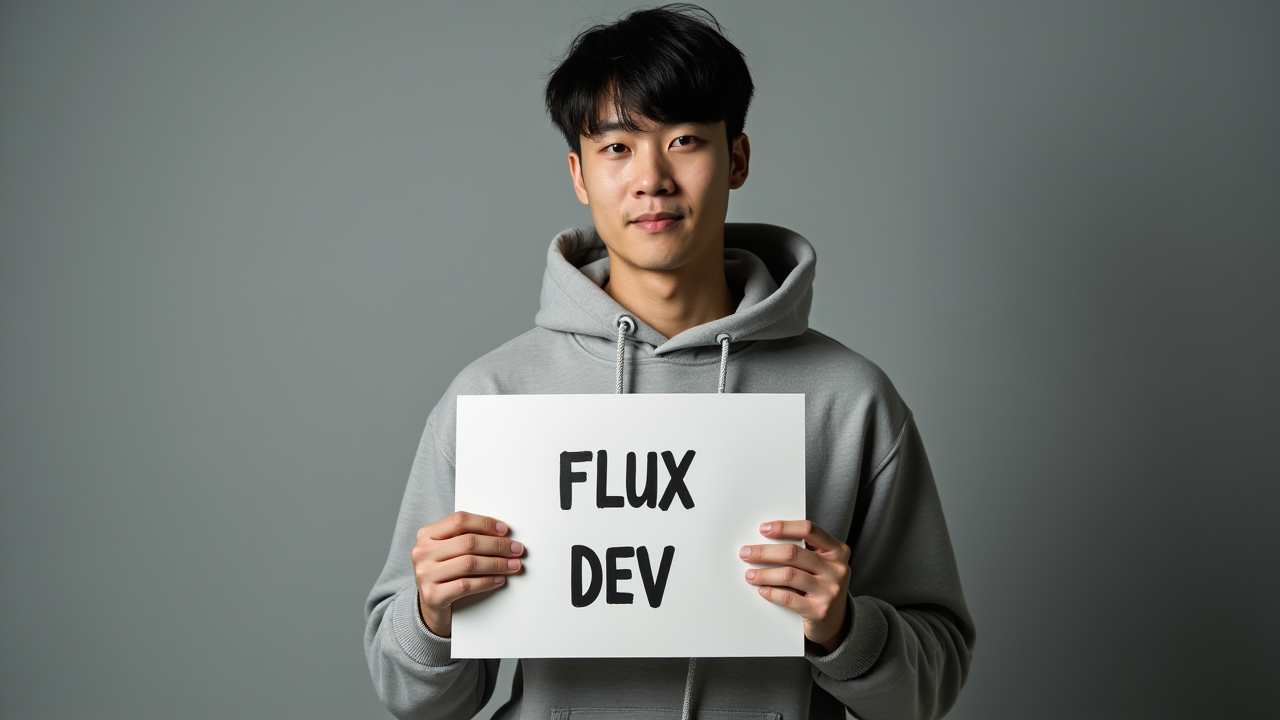
물론 무료 GPU 는 사양이 낮기 때문에 빠른 이미지 생성을 위해 양자화된 모델을 사용했습니다.
더 다양한 모델을 사용하시기 위해서, 혹은 좀 더 지저분한 코드를 안 보면서 생성하시려면 제가 따로 몇 줄 더 추가해서 만든 코드를 전달 드리면 될 것 같은데요. 메일로 전달해드리겠습니다. 댓글로 남겨주세요!
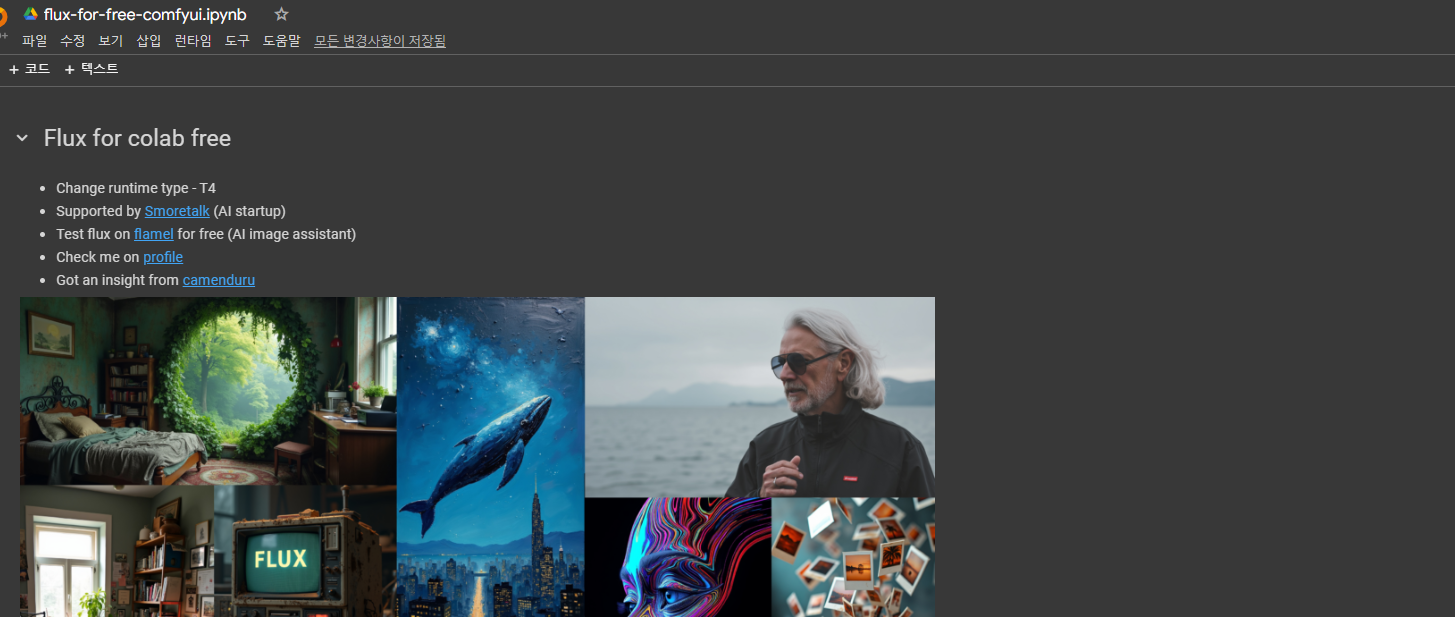
지난 번에 AI 모델 학습하는 코드를 드리겠다고 했는데 아직 못 드렸네요.
죄송합니다. 이것도 최대한 빨리 처리할 수 있도록 하겠습니다.
정신 없을 만큼 플라멜의 새로운 사용성을 보여드리기 위해 많은 준비했으니 계속 꾸준히 관심 가져주시면 감사드리겠습니다. 아마 내일? 새로운 모습의 플라멜로 업데이트 될 것 같아요.
이미지 AI 모델이 궁금하시다면 언제든 연락주세요!
bento.me/jyoung105
톤앤매너를 유지하는 가장 쉬운 디자인 방법

댓글
로그인 후 댓글을 남길 수 있습니다.
지금보니 프로필 사진도 바뀌었네요 ㅎㅎ 코드 공유주셔서 감사합니다! 활용해봐야겠어요!
디테일을 알아차리시다니 부끄럽네요.. 감사합니다 :) 빠르게 사용하시려면 flamel 에서 하시면 편할 거에요 ㅎㅎ
좋은글 감사합니다 웹ui로 이제 끄적거려보는 중이라 이것저것 보는데 동기부여가 되네요
안녕하세요 좋은 글 잘 읽었습니다! 혹시 코드 전달 받을 수 있을까요? go2you12@gmail.com입니다.